Harmony Toolbox Intro
The Harmony Validator Toolbox (opens in a new tab) is designed to help Harmony validators install the Easy Node Validator Toolbox and get online asap. This is not for beginner Harmony Validators.
Github Repository
Harmony Validator Toolbox repository has 16 🌟 on GitHub (opens in a new tab).
If you enjoy our validator toolbox software can you head to our page and give us a 🌟 today? Thank you!
Code Stats
Server Prep
We covered most of these things in the admins tools section but here's what you need:
- Linux server running Ubuntu 20.04/22.04 LTS
- A regular user acocunt with root access
Create A Wallet
See our notes on setting up a wallet here if you made it this far without one.
That's it for the requirements, you're ready to connect to your new server and install the Harmony Validator Server Node software.
Toolbox Installation Guide
Now that you're logged in and ready to go as your regular user account, here's the steps to installation! The harmony-toolbox application can be installed on existing nodes to utilize the management menu along with running on brand new servers to setup the Harmony Validator software.
Installation Video
We put together a video going over the toolbox, you can catch that here!
Ubuntu Dependencies
Install Ubuntu dependencies, clone our Github repository, and install Python Requirements with the following command:
cd ~/ && sudo apt-get install dnsutils git python3-pip python3-dotenv unzip tmux -y && wget -O harmony.sh https://raw.githubusercontent.com/easy-node-pro/harmony-toolbox/main/src/bin/harmony.sh && chmod +x harmony.shLaunch Validator Toolbox
If this is the first time launching the toolbox you'll get prompted to answer some questions before we install Harmony on the new server! To start installation run:
cd ~/ && ./harmony.shSetup Menus
Here's more information about each setup menu along the way!
Shard Choice
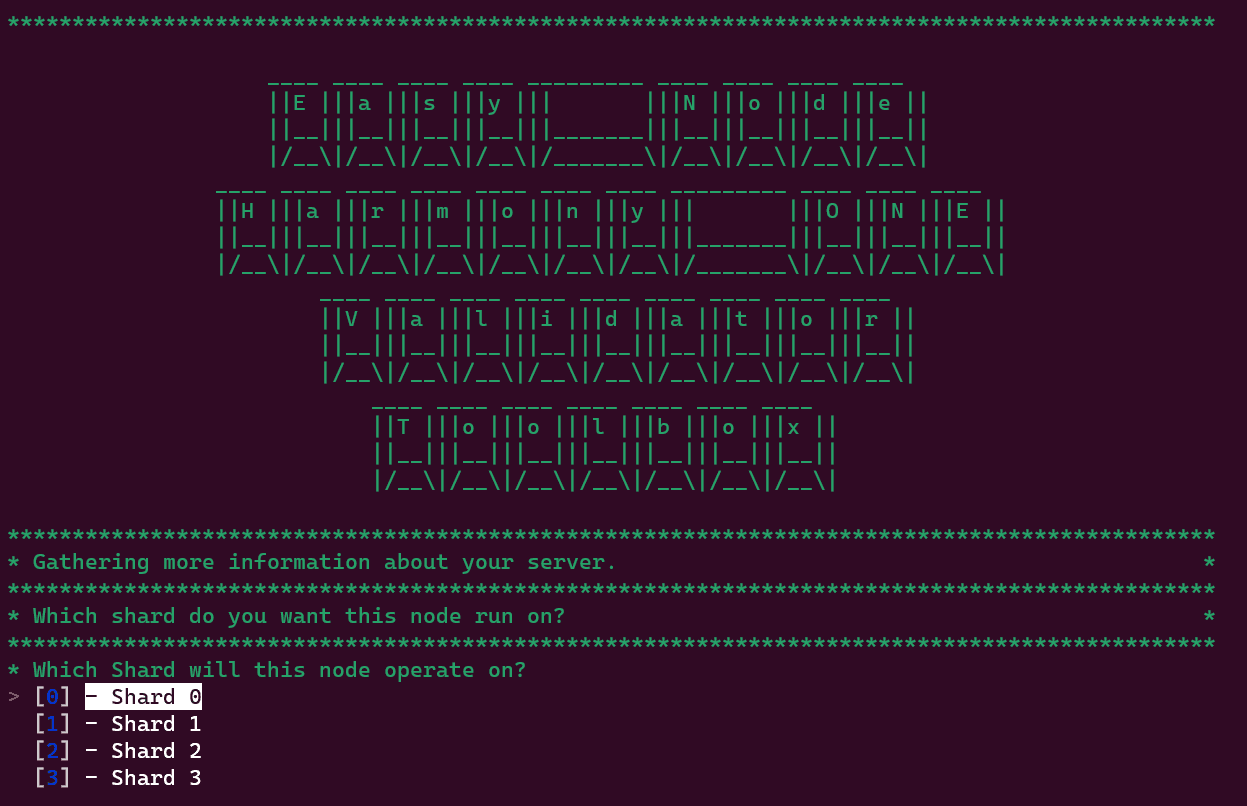
Simply pick the shard this node will run on. It's a personal preference, although we suggest looking at the smart stake site (opens in a new tab) and determining which shard of 1-3 has the lowest # of keys and using that shard.
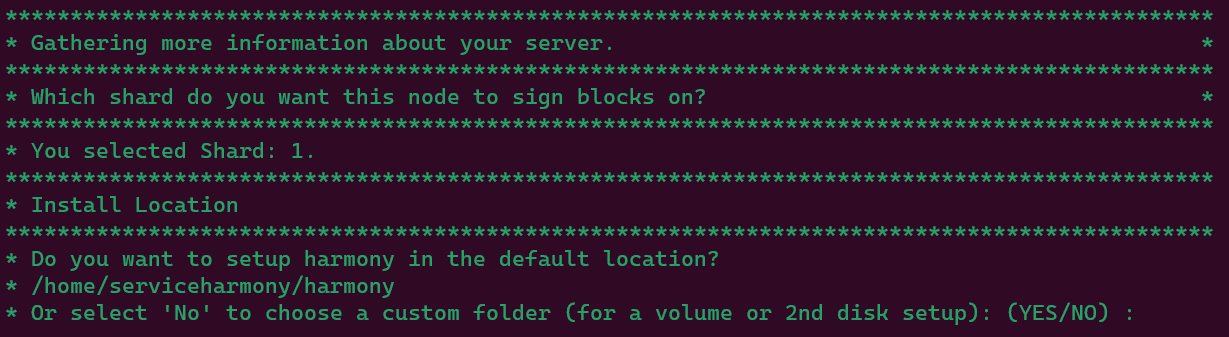
Installation Location
You can choose to use the default location of ~/harmony or setup a custom location.
For being compatible with the toolbox we suggest either /home/serviceharmony/harmony or adding your shard # to the end, example for shard 1: /home/serviceharmony/harmony1
Example of using a custom location:
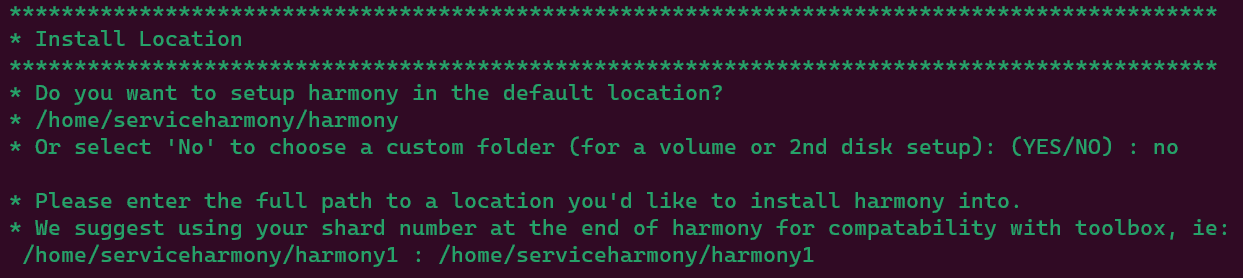

File Setup
Files will now configure since we know the shard and location.

Wallet Configuration
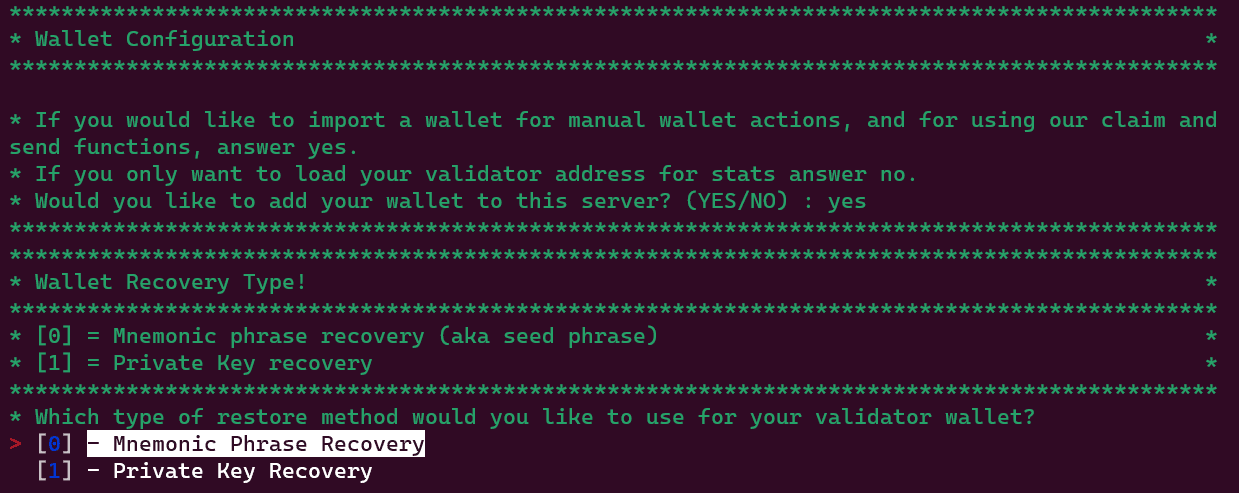
If you'd like to use our claim and send or autobidder in the future you'll have to restore a wallet via mnemonic or private key.

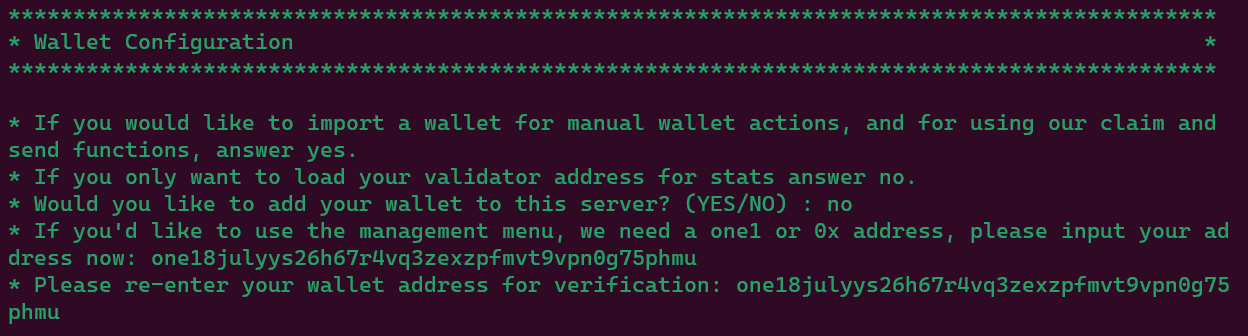
You'll be asked to recover a wallet, answer yes to restore a private seed or mnemonic phrase. If you answer no, we'll still ask for your validator address in one1 or 0x format.
Wallet Recovery
If you answered No above, instead you'll get this prompt to input your address with verification.
If you answered Yes above, you'll get this menu to load your wallet.
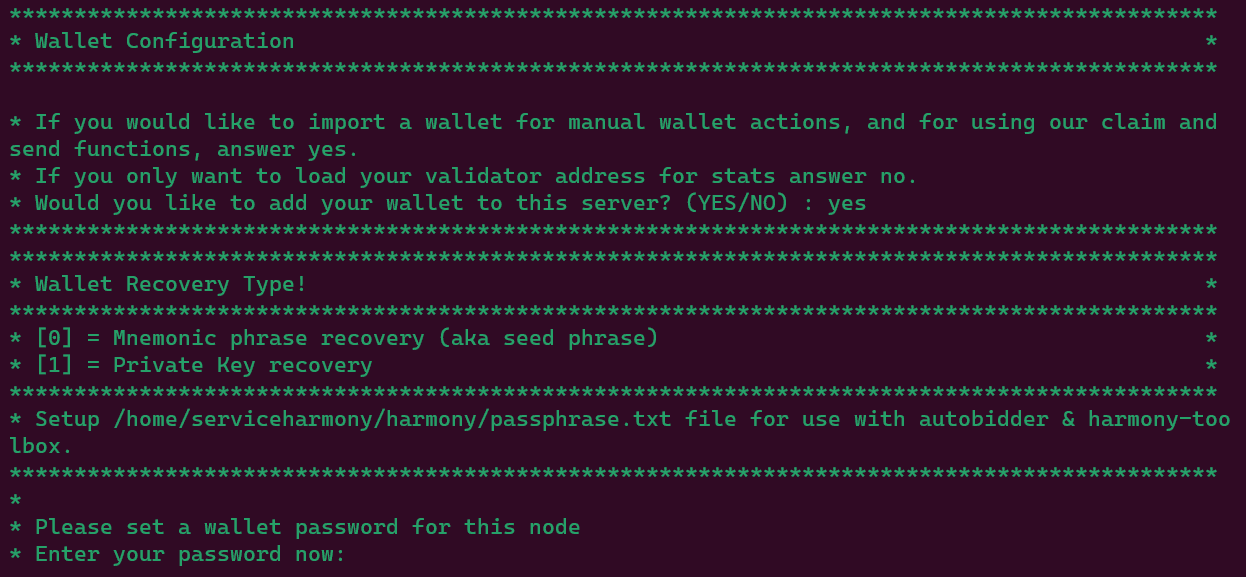
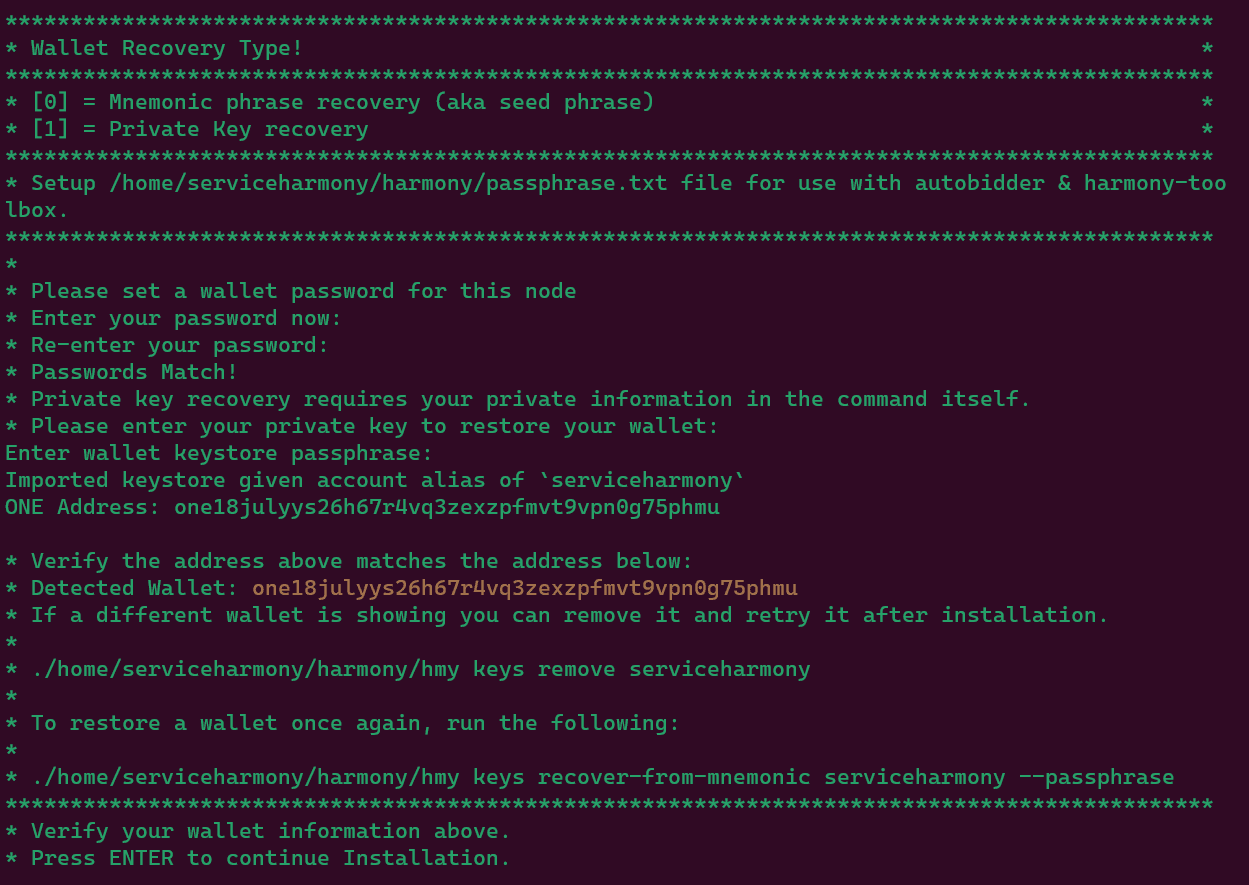
You'll be asked directly by the hmy app for your phrase or mnemonic. We do not store or save this information. When selecting an option you'll first be prompted to set a wallet password for this server. This will be saved in your harmony directory as passphrase.txt.
After setting up your password for the server, you'll be prompted to provide your private key or mnemonic depending on your choice.
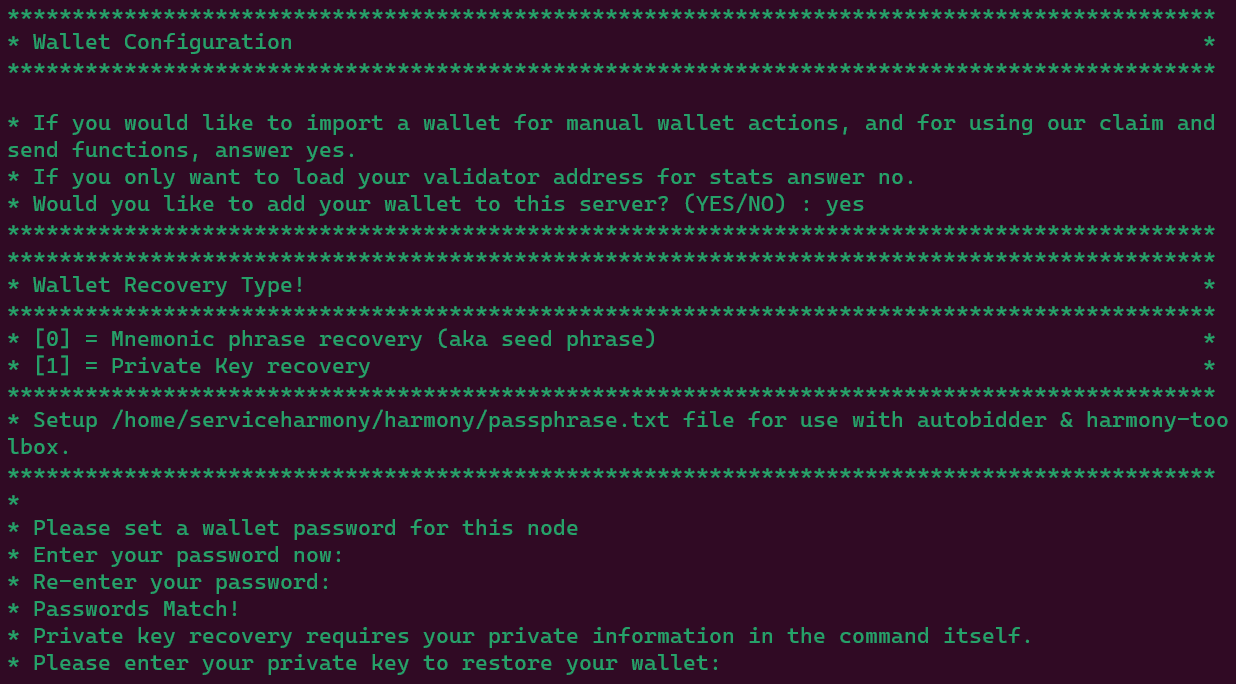
Confirm your password again, and verify your proper address is displayed.
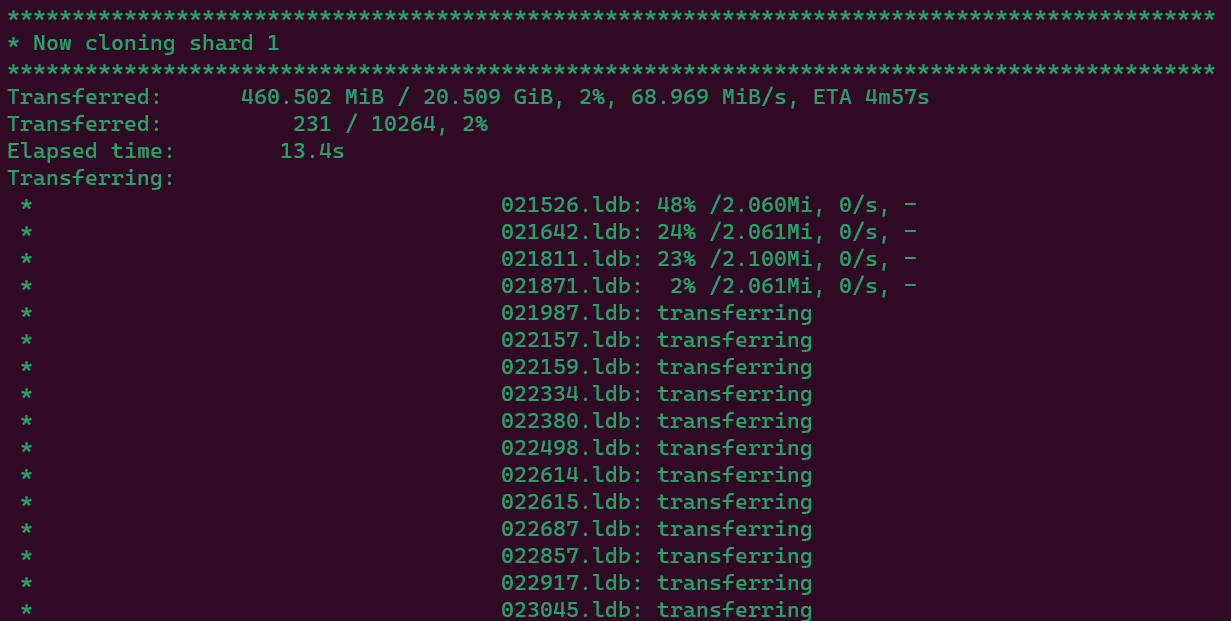
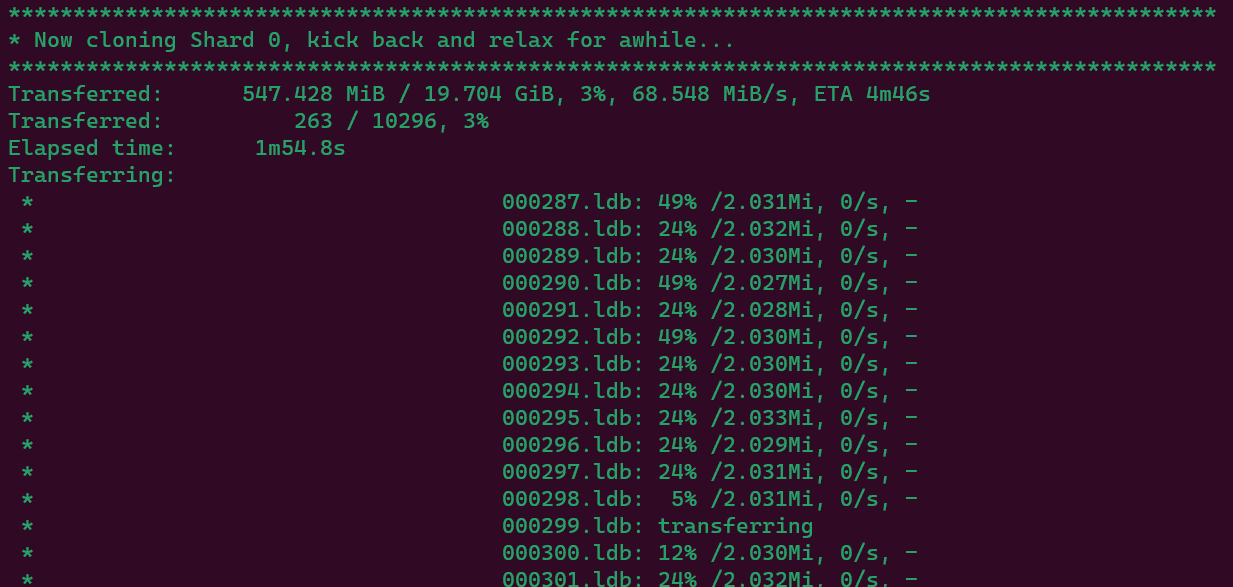
Clone Shards
You will now start cloning your shards. If you choose shard 1-3 that shard will download before shard 0. You can press ctrl+c to cancel downloading of any shard to move past that download.
Install completed!
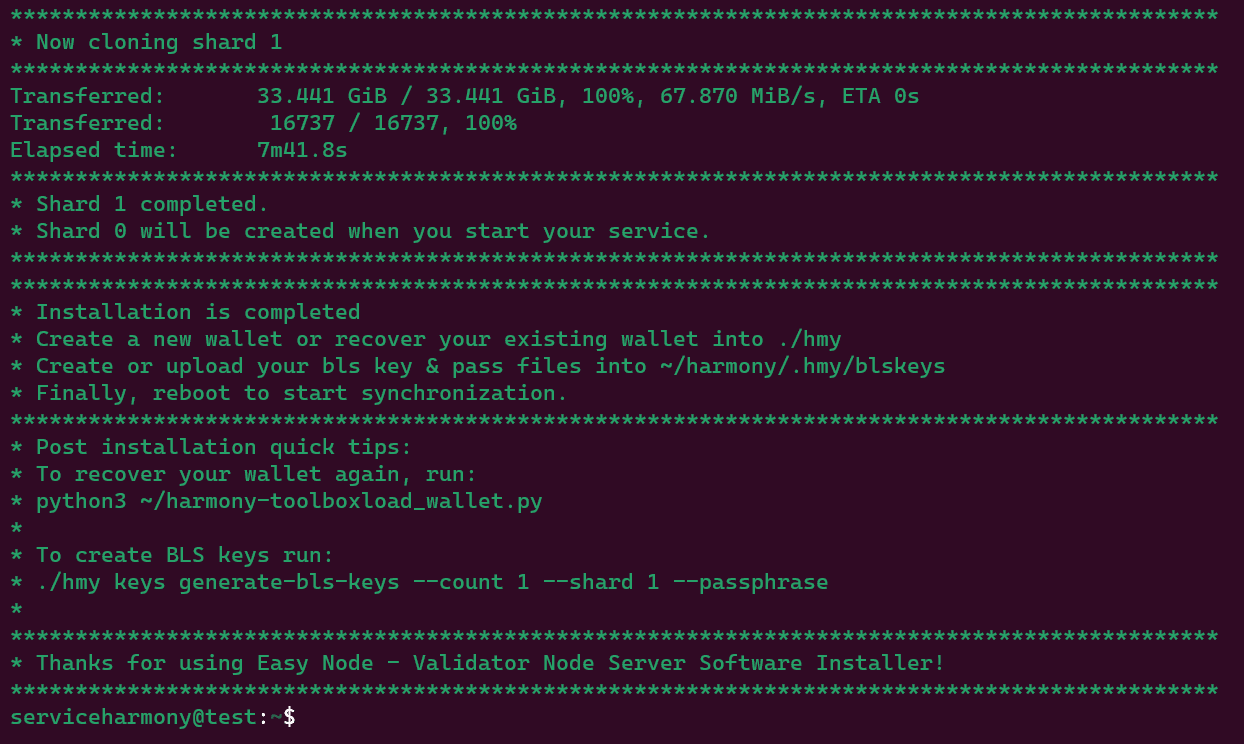
As mentioned earlier, if you do not have sudoless root access, you will be prompted for a passwords. Keep an eye out for any prompts.
First Time Validator Extra Steps
The next 3 sections need to be completed after running the toolbox installer but before running the management menu application for the first time as a brand new validator only. Since you're an experienced validator you should have already completed everything in this guide. I've left this for new people who may be attempting to "jump the line".
BLS Keys
See our notes on creating BLS Keys here but if you are this far you should already have these.
- Backup (transfer/save) your .key & .pass files onto your home system for re-use in the future
- New keys can be created at anytime and added to your validator for use after the next election
- BLSKeys are hard coded to the shard you create them for, this cannot be changed
Creating a Validator
Here's the example command given in the official guide below. I'll suggest some updates and give an example command in the following steps.
./hmy --node="https://api.s0.t.hmny.io" staking create-validator \
    --validator-addr [ONE ADDRESS] --amount 10000 \
    --bls-pubkeys [BLS PUBLIC KEY1],[BLS PUBLIC KEY2] \
    --name "[NAME]" --identity "[IDENTITY]" --details "DETAILS" \
    --security-contact "EMAIL_ADDRESS" --website "YOUR-WEBSITE.COM" \
    --max-change-rate 0.1 --max-rate 0.1 --rate 0.1 \
    --max-total-delegation 100000000 --min-self-delegation 10000 --passphrase --gas-price 100
Copy the entire command. Extra white spaces in the command could cause errors.
Name, identity, details, security-contact and website need to be put in double quotes if there are more than one word separated by space (example --name "John the validator").
Post Install Suggestions
You want to setup your logo for the validator. Here's the Adding A Validator Logo (opens in a new tab) section of the official guide that will get you set up with an identity string. We suggest including the identity string in your create-validator command.
With that in mind, the only extra item we suggest to include is the --identity information. Here's an example with a fake address and information as an example.
./hmy --node="https://api.s0.t.hmny.io" staking create-validator \
    --validator-addr one1rka0v5rct0857f2f*6ahn0cyd89uvravr3yjw --amount 10000 \
    --bls-pubkeys a243b3a090063bae6aeca9215*05de1a94a033c50ab98ed98c50ab98ed984c9cf23513585e1af0cc4c9cf23513585e1af0cc \
    --name "My Awesome Validator" --identity 05de1a94a0*33c50ab98ed98 --details "All your validator notes that show up on the staking.harmony.one site" \
    --security-contact "a.working.email@address.com" --website "https://your-website.com" \
    --max-change-rate 0.1 --max-rate 0.1 --rate 0.1 \
    --max-total-delegation 100000000 --min-self-delegation 10000 --passphrase --gas-price 100
All of the options explained
Decide on your max-change-rate and max-rate before sending your command. These cannot be modified after you have sent your create validator command, like ever!
Here's all of the options you will customize before sending your create command.
validator-addr - Your Validator wallet with 10001+ coins available to delegate at least 10k.
amount - Must be at least 10k. Have extra one available for fees. 1 ONE that can be delegated by one single wallet
min-self-delegation - Must be at least 10k, you can leave this at 10k.
Commands
Now it's installed, how do we start it up?
Launch Toolbox Menu
To launch the Management Menu we suggest the following to check for updates and launch each time you'd like to run the menu:
bash -x ~/harmony.shGet Stats
If you'd like to get only your stats without launching the full toolbox, run the following command:
bash -x ~/harmony.sh -s